AI customer support on WhatsApp: set up Ada in 5 steps
Put an AI support agent on your WhatsApp number and website chat. Ada answers from your own knowledge and tools, and hands chats to your team in one Inbox.
In this post
- What Ada does on WhatsApp
- The 5 setup steps
- When she hands a chat to your team
- What she will never do
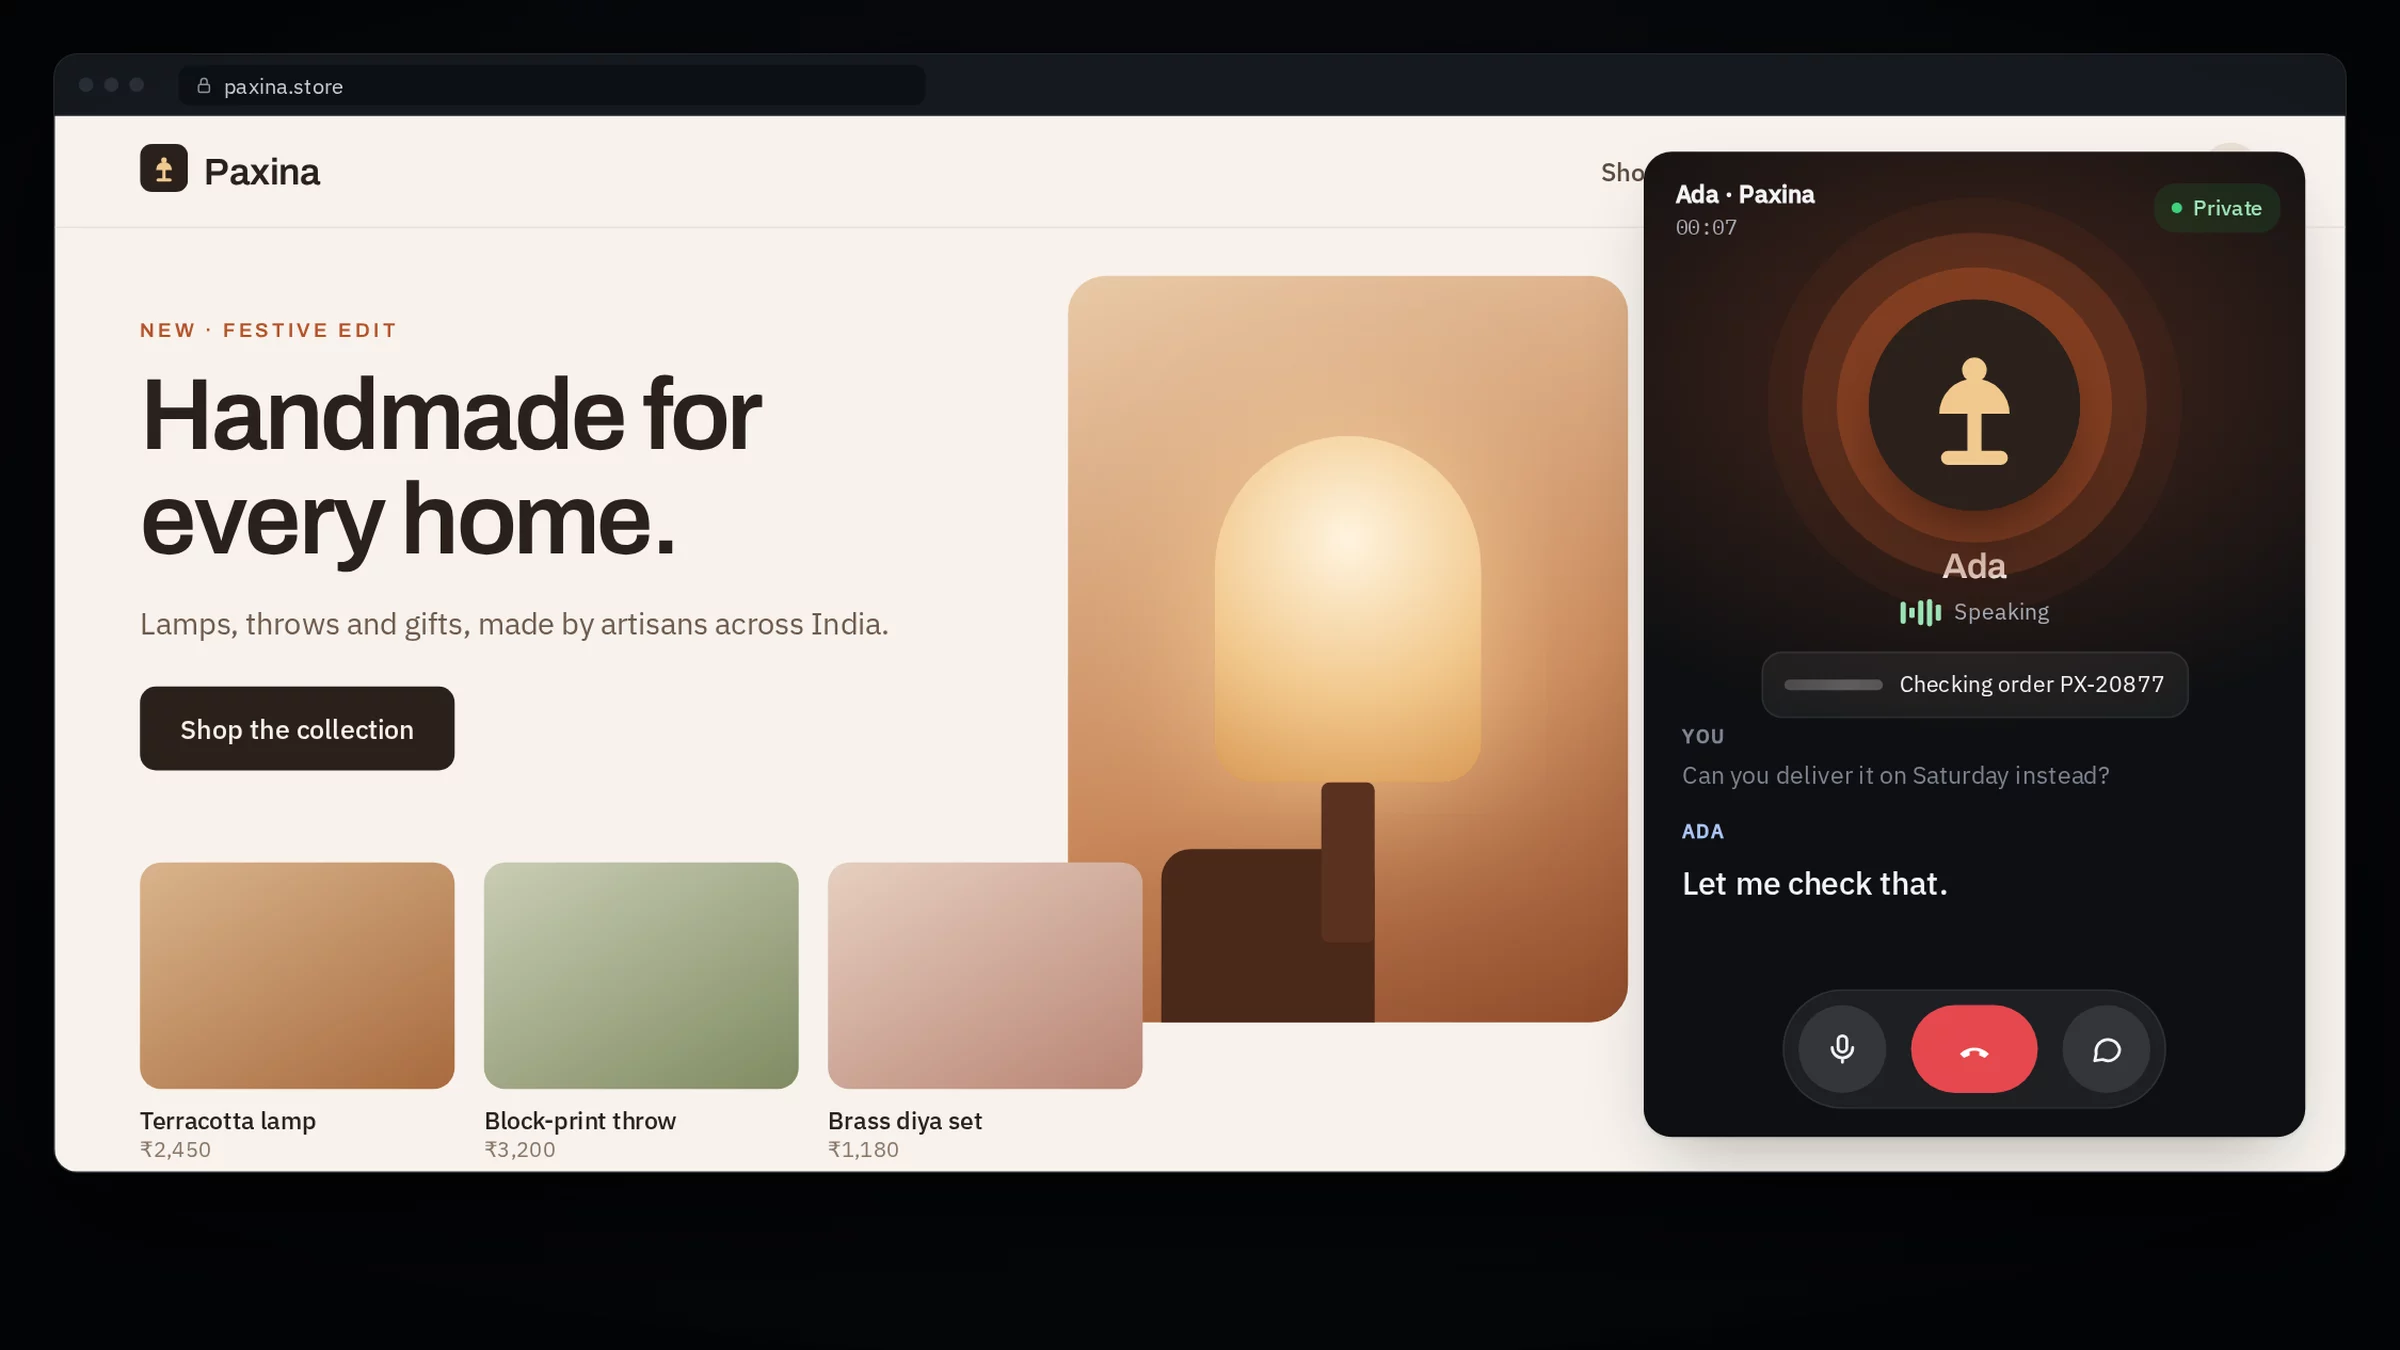
Most customer questions are the same twenty questions. Where is my order? Can I change the date? What are your hours? Ada answers those on WhatsApp and in a chat on your website, day and night, and passes the rest to your team.
This post walks through the setup. It takes five steps, and nothing goes live until you switch Ada on at the end.
What Ada does#
| She can | How |
|---|---|
| Answer questions | From the details, policies and answers you give her |
| Look things up | Orders, bookings and accounts, through the MCP tools in your Glxymesh projects |
| Speak your customer's language | She replies in the language and script they write in, Hindi and Hinglish included |
| Read what they send | Screenshots, photos and voice notes |
| Hand over | To a free teammate, in your Inbox, when a person is needed |
Step 1: Add your details and verify your website#
Open Support desk in the console. Add your business details, then prove you own your website with a DNS record or a meta tag. Ada can't go live until this is done, so customers always know who they are talking to.
Step 2: Connect WhatsApp, the website chat, or both#
For WhatsApp, you need a number on the WhatsApp Cloud API. Paste four things from your Meta account:
- Your WhatsApp Business Account ID
- The phone number ID
- A system-user token
- Your app secret
The token is sealed in your project's vault. Nobody sees it again after you save it. Customers keep messaging the number they already know.
For your website, add one line to your pages. The chat shows your logo and colour, and loads only on the website you verified. No website? Use the share link at chat.glxymesh.com instead.
<script src="https://chat.glxymesh.com/v1/widget.js" data-org="your-org" async></script>
Step 3: Teach Ada about your business#
Give her your hours, policies and the questions customers ask, with your answers. Ada can draft these from your website for you to check, so you don't start from a blank page.
Then pick the tools she may use. Each project is off, read only, or read and change. Start with read only if you're unsure.
Step 4: Invite your team#
Invite the people who pick up chats. Support-only seats see only the support console, not your projects or billing. Each teammate signs in with their own Glxymesh account.
Step 5: Review and switch Ada on#
Check everything on one page, switch Ada on, and open your support console at your-org.console.glxymesh.com. It has the Inbox for WhatsApp, web chats and calls, a Today view and your team.
When Ada hands a chat to your team#
She passes the chat on when:
- The customer asks for a person
- They're upset, or mention a complaint or a chargeback
- The topic is one you always want a person for
- She can't help after two tries
She assigns it to a free teammate whose queue fits, picking the one with the fewest open chats. If nobody is free, it waits for an admin. Chats stay hidden from the team until Ada hands them over, and only owners and admins see every chat.
What Ada will never do#
- Ask for passwords, one-time codes or card numbers
- Claim to be a person
- Show order or account details on your website before the visitor confirms an email code or signs in through your own site
- Change anything without the customer's yes
What it costs#
The Support desk is part of the Business plan. Live voice calls from the website chat are billed from your AI credits at $0.10 for each started minute. See the pricing page for everything Business includes, and Ada on your website for the 73-second demo of the chat and calls.
Explore MCP guides by task: creation, hosting, connections and security.